10 Tips for Choosing Cable Management Solutions
Loose cables can turn a clean workspace into a tangle of chargers, power cords, and dust. They can also make routine tasks harder, especially when a plug slips behind a desk or a cable blocks a drawer. Choosing suitable cable management solutions is less about hiding every wire and more about keeping equipment accessible, organized, and appropriate for its environment.
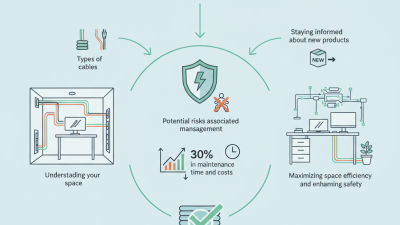
A useful choice starts with a close look at the space. Measure the route from each device to its outlet, and note where people walk, sit, or move equipment. A fabric sleeve may bundle several cords beneath a desk, while clips can guide one charging cable along its edge. Small details matter. So does access. Consider how often cables need to be replaced or unplugged, and whether adhesive mounts will hold on the surface you have. Check product dimensions, materials, and installation guidance rather than relying on photos alone.
The ten tips in this guide cover practical factors such as cable volume, mounting method, flexibility, appearance, and future changes. They also encourage a careful review of heat, ventilation, and manufacturer instructions around electrical equipment. A neat bundle is not automatically a safe one. Leave suitable space around devices, avoid pulling cords tight, and do not overload outlets. These choices may take a little trial and adjustment. That is normal. The best setup is the one that fits your actual room, remains easy to maintain, and still works when your equipment changes.
Assess Cable Types, Quantities, and Routing Needs
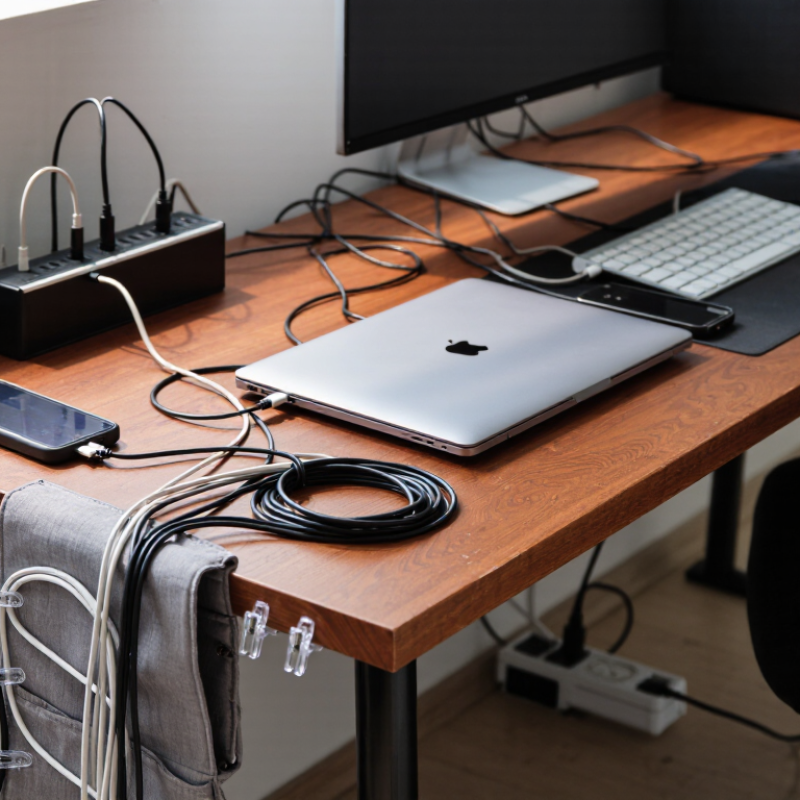
Before choosing sleeves, trays, or clips, identify what each cable carries and how often it moves. Power cords, data lines, and audio cables may need different separation and bend space. Check jacket diameter, connector size, and minimum bend radius in the cable documentation. A thick plug can turn a neat channel into a bottleneck. Don’t guess.
Count cables along each route, not just across the whole room. A desk with twelve leads may need a wider tray near the floor, while only four cables reach the monitor arm. Leave spare capacity for future additions, but avoid filling every opening. Crowded bundles can trap heat and make faults harder to trace. Measure twice.
Sketch each path from device to outlet, noting doors, moving joints, and access points. Keep slack where a standing desk rises, then secure it so loops cannot snag feet or wheels. Mark cable branches and keep labels visible. A common installation mistake is overlooking an adapter that will not pass through a closed channel. Test a short section before buying materials for the full route.
Compare Cable Management Systems and Materials
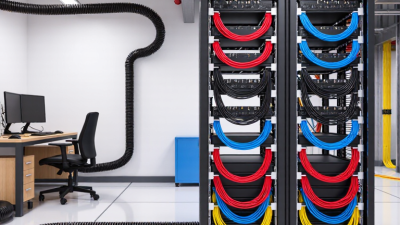
Cable trays, raceways, sleeves, and clips solve different routing problems. Open trays keep cables visible and easy to change, which helps in workshops or under desks. Closed raceways hide wires and limit dust exposure, but they can make later additions awkward. Sleeves bundle loose cords neatly; clips work better for guiding one cable along a desk edge. Measure twice. A tray that looks roomy in a catalog may feel crowded once plugs and bends are included.
Material matters as much as system design. Steel trays are sturdy and suit heavier cable runs, though sharp edges need proper protection. Plastic raceways are light and simple to cut, but check their temperature rating near warm equipment. Fabric sleeves flex around moving cables, while rigid covers hold a straighter line. Silicone clips grip well, yet can loosen on dusty or textured surfaces. Read the manufacturer’s load and temperature guidance rather than guessing.
Match the system to access, surroundings, and future changes. In a home office, a removable under-desk tray may be more useful than a permanent wall channel. In a utility area, secure supports and clearance from heat sources matter more than appearance. Leave room for connectors and gentle bends; tight turns can strain cables. A perfectly tidy route is not always the best one. Test the layout with real cables before fastening everything, because small changes can reveal a better path.
Check Safety, Accessibility, and Maintenance Requirements
A neat cable bundle is not automatically a safe one. Check the solution’s load rating and material suitability before installation. Keep cables away from hot surfaces, sharp edges, moving parts, and ventilation openings. Avoid tight bends or hard pulls at plugs; strain can damage a cable where it enters a connector. For mixed power and data cables, follow equipment guidance on spacing and routing. Small details matter.
Accessibility saves time during repairs. Choose covers, clips, or trays that open without tools when frequent changes are likely. Leave enough slack to move a device for cleaning, but not so much that loops catch on drawers or wheels. Labels near both ends help identify a cable when several look alike. Keep outlets and disconnect points visible. I have seen tidy runs become confusing after one quick replacement; that part is easy to overlook.
Maintenance needs a place in the plan, too. Inspect routes periodically for cracked jackets, loose mounts, dust buildup, or pinched sections. Check again after moving desks or adding equipment. Removable ties can make revisions easier than permanent fastening, though they may loosen over time. A monthly reminder may be excessive for a quiet office, but high-use areas deserve more frequent checks. Choose a system you can actually inspect.
Evaluate Installation Space and Future Expansion
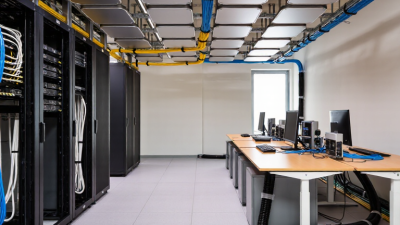
Before choosing trays, ducts, or floor channels, measure the actual route—not just the empty wall. Note door swings, rack depth, ceiling obstructions, bend radii, and access panels. Leave room for hands and pulling tools. Tight turns can damage fiber or make later changes painfully slow. Small details matter. Check above a loaded rack, too; bundled cables can use space that looked free during a walkthrough.
Plan spare capacity around a documented growth estimate. Cisco’s Annual Internet Report (2018–2023) forecast 29.3 billion networked devices and connections worldwide by 2023, up from 18.4 billion in 2018. That global forecast is not a sizing rule for one building, but it shows why fixed, fully packed pathways age poorly. Reserve a defined section for new runs, and label it on the installation drawing. Keep power and data routes organized, while following applicable project standards. A tidy tray today can become a bottleneck tomorrow. One honest caveat: expansion space is easy to promise on paper. Walk the route with installers before sign-off, and revisit the plan when rack layouts change.
10 Tips for Choosing Cable Management Solutions: Evaluate Installation Space and Future Expansion
Compare common cable-management options by space fit and ease of expansion. Ratings are indicative planning scores from 1 (low) to 5 (high), not product specifications; check dimensions and capacity before installation.
When measuring, account for mounting clearance, cable bend radius, access to outlets, and the route needed to add cables later. Choose a solution that fits the available space without making future access difficult.
Balance Cost, Durability, and Appearance
Cable management is easiest to judge when you compare its full service life, not just the shelf price. A low-cost sleeve may work well behind a desk, while a busy workshop may need sturdier clips and a more durable tray. Check the material, attachment method, and weight rating before buying. A tray that sags under power adapters can become an ongoing annoyance. Small details matter.
Tip: Match the solution to the room. Use flexible fabric sleeves where cables need frequent access, and fixed channels along walls that rarely change. Leave a little space for airflow, especially around warm adapters. Measure the route before ordering; a few centimeters can affect both fit and appearance. Keep labels near connection points if several similar cables share a path.
Appearance has practical value, but it should not hide maintenance problems. Choose colors that blend with the desk or wall, and avoid tight bends that strain cable jackets. Reusable ties cost slightly more than disposable ones, yet make changes easier. For a rental or temporary setup, removable clips may prevent surface damage. Test one section first. I would reconsider any plan that looks perfect only when nothing needs repair. A tidy route should still let you unplug, inspect, and replace a cable without dismantling the whole setup.